Thursday, June 19, 2014

Dinette Cushion Upholstery

Hey guys,

So today, we decided to start off the renovation by redoing the upholstery on the dinette cushions.  We started with the seat cushions first, tomorrow will we do the back cushions.  As for the design, we decided on a light, neutral muslin fabric on the bottom seat and are going with a pretty green and blue chevron pattern for the back part!  I'm really excited to see how this turns out!  I was a little hesitant about using muslin, but turned out loving it in the end.  

Here's how we did it:
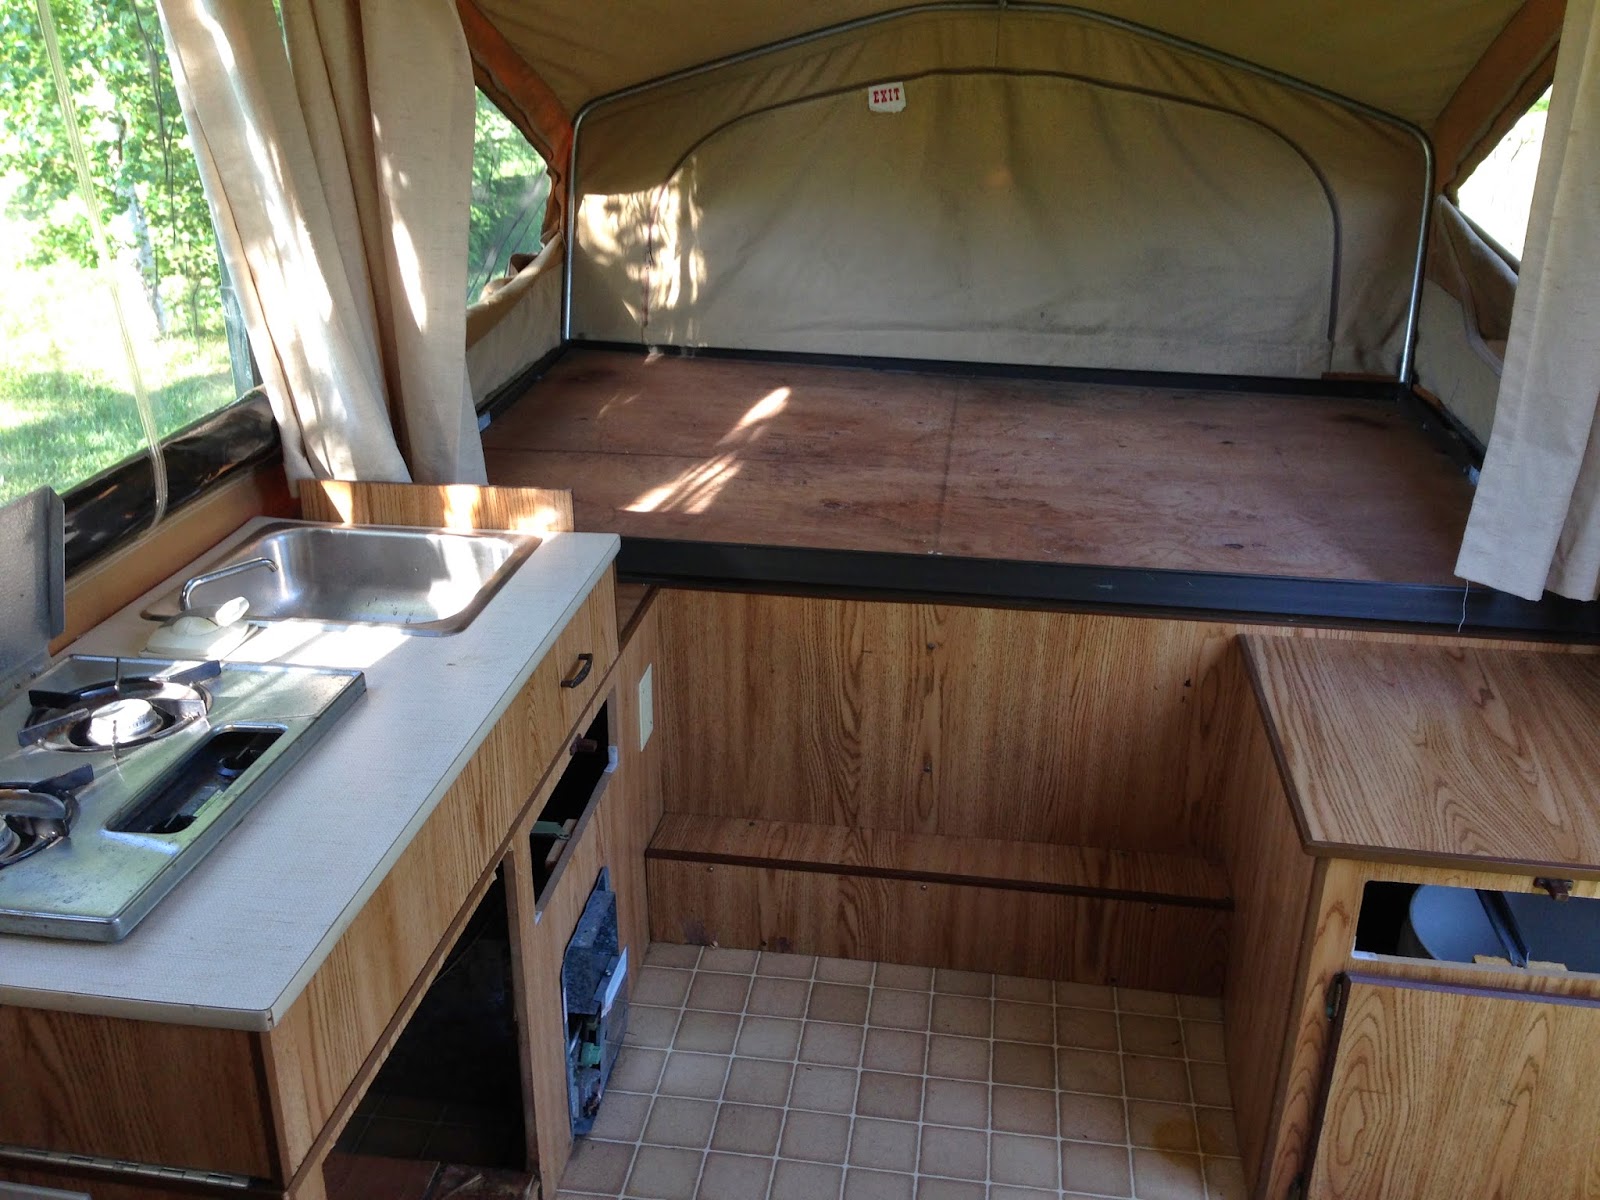

Before:
Here's the original pattern of the cushion... yuck!


 Here are the original cushions on the dinette benches.

This is the batting we used underneath the muslin, it was pretty cheap at Walmart, about $5.97 for a full size, which allowed us to double it and be a perfect match for the two seat cushions.

First we cut the muslin to fold around the existing cushion.

Then we put a piece of cut plywood on the bottom of the cushion for
support and to staple the fabric to.


The product after the batting was stapled.


Side view of the plywood, cushion and batting on top.

We then stapled the fabric around the same way as the batting, starting from
the middle and working our way to the ends.  Also, don't worry about it not looking 100%

polished and wrapped perfectly, no one will see this side anyway :P

The finished product! It was super easy and turned out fabulous!

From the side, loved the pleating :)

All done! We really loved how it turned out.

The cushions turned out great, now on to do the back cushions. Will post pictures of them tomorrow... but here's a sneak preview of what the pattern will look like ;)  Have a great night!


UPDATE (6/20/14):

Here are the final back cushions. They were done the same way the bottom cushions were!


Now, let's look at the price breakdown:
Chevron fabric, 2 yrds @ $9.99/yrd = $19.98
Muslin fabric, 5 yrds @ $1.97/yrd = $9.85
Batting, 2 pkgs @ $5.97/each = $11.94
Plywood, 1 board @ $19.49/each = $19.49
Staples, had on hand at home = $0.00
Subtotal = $61.26
Sales tax = $3.68

Total price = $64.94


Not too bad for redoing 4 pieces of cushion! I'm very happy to have spent that and have the outcome that we received.

Let me know what you guys think! I'm always open for suggestions on future projects as well :)

Wednesday, June 18, 2014

Our Starting Point

So, here is what we're dealing with:

 Old, ugly faux oak wood everything.


Outdated appliances (the mini fridge is missing in this photo because we took it out to clean it) and certainly lack of storage space!


 Outdated, outdated, outdated! But what do you expect for a 27 year old camper?


 The dinette space, for which the cushions, mattress and table are out for cleaning as well.


 Old, stained, linoleum flooring.
 

Sloppy electrical work and handyman's work at it's best...... not.

UPDATE:

This is the basic layout of our pop up. Pretty simple. We do have both the mini fridge
and the furnace, but no carry out stove and only has a cabinet. No porta-potti for us!

(Photo found via Google on http://www.travelbytwo.com/camper/)


So this is where we're starting at.  We've got a long way to go and the end result will be more than worth it! We really love camping and are extremely excited to have a camper to call our own!  We also will be sharing the budget and costs on this blog to see how much this remodel will truly cost. Fingers crossed we can do it on a relatively low budget! We hope to paint the cabinets, redo the flooring, fix up the cushions, mattresses and curtains, and much more.  I mean, it will be our home away from home!

-Jessica

Welcome To Our Blog!

Welcome!  

Thanks for checking out our blog! My boyfriend Nick and I have recently just purchased a 1987 Jayco J-Series 806 pop up camper that we are remodeling to make our own.  We're really excited to have our first camper and to fix it up together.  I thought it would be a good idea to post our progress of renovation for everyone as inspiration because, lately, I've been obsessed with all of them online and it's a great way to figure out what you want for your camper.  Anyway, there will be many posts about what we're doing and how we are doing it to see what works and what doesn't.  Stay tuned! :)


-Jessica